Congratulations on your new TacHammer Developer Kit. On this page you will find all the information and documentation you need to begin integrating TacHammer into your projects. Happy experimenting!
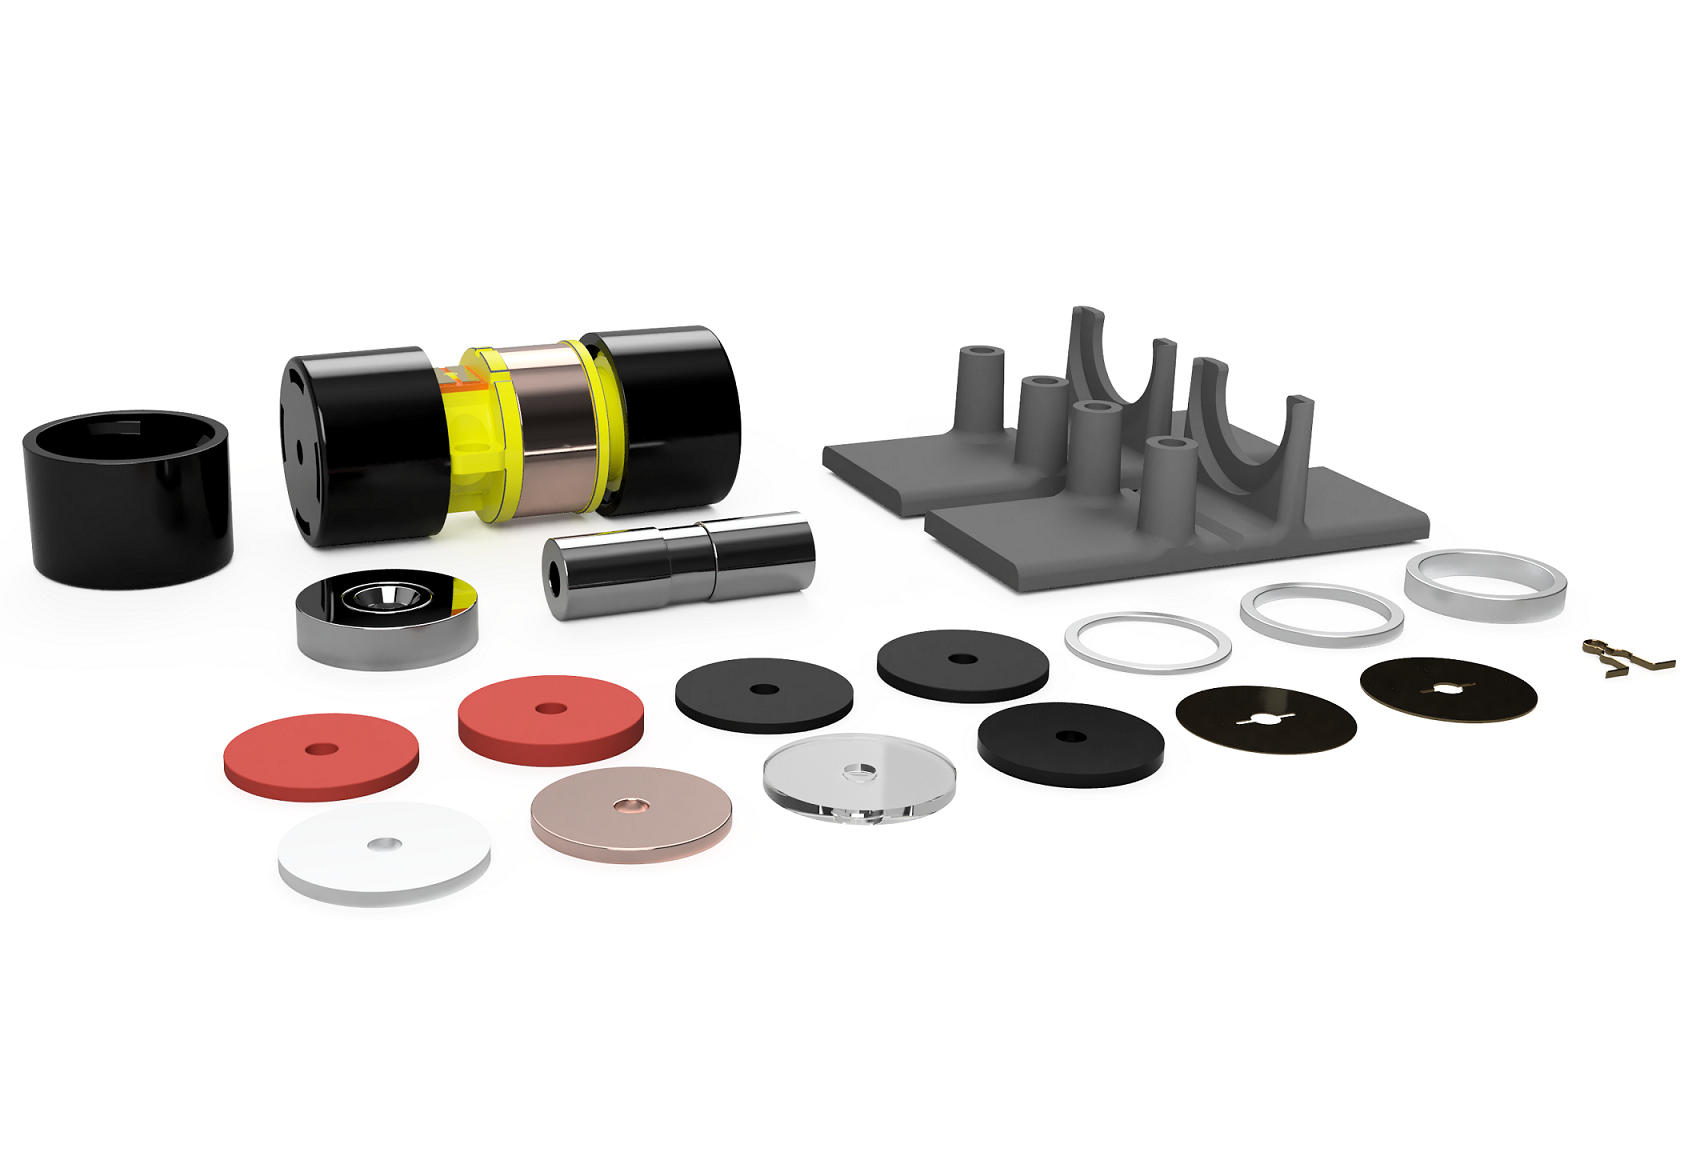
What’s in the box?
| Part | Quantity | Label |
|---|---|---|
| TITAN Core | 1 | A |
| TacHammer Carlton | 2 | B |
| Spare Caps | 2 | C |
| Hard Impact Discs | 2 | D |
| Soft Impact Discs | 2 | E |
| Extra Magnets | 2 | F |
| Mounts | 2 | G |
| Screwdriver | 1 | Not Pictured |
| Pin Jumper | 1 | Not Pictured |
Quick Start Guide
In addition to what’s included in the box, you will need the following items:
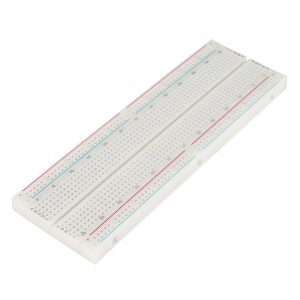
Breadboard
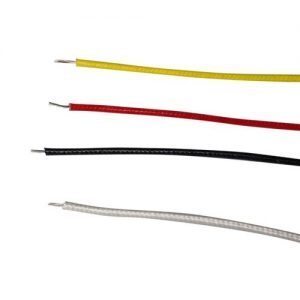
Hookup Wire

5V Power Supply
For basic out-of-the-box operation, follow these steps:
1. Wire up all the components as indicated by the diagram.
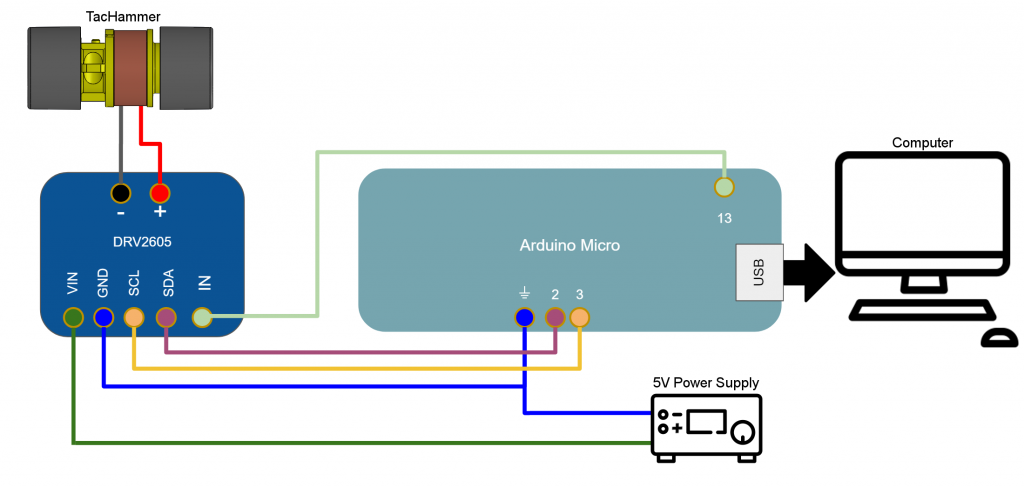
2. Hold the Actuator and experience a loop of different effects.
To control the loop effect with a button, follow these steps:
1. Wire up all the components as indicated by the diagram.
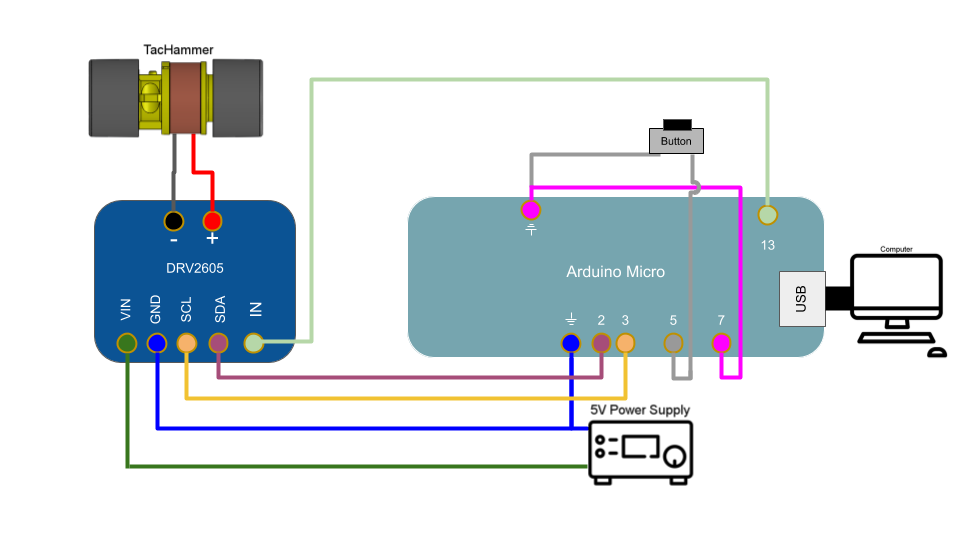
2. Reset the Arduino to boot into button mode.
3. Hold the Actuator and experience a new effect each time the button is pressed.

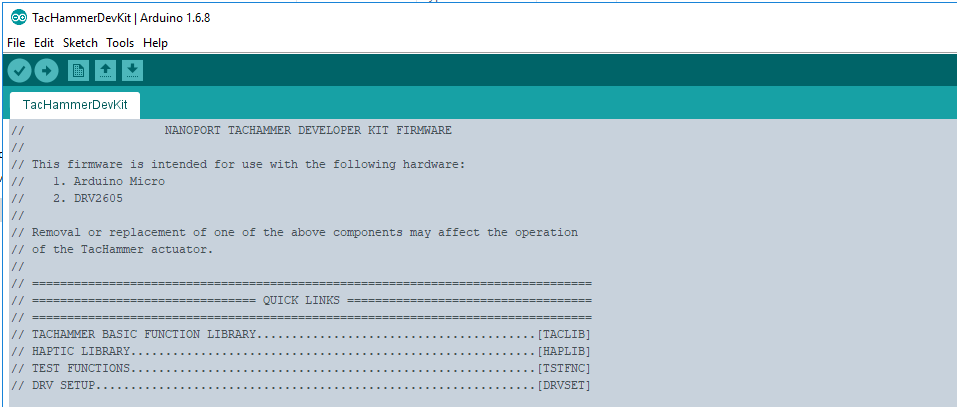
3. Upload the TacHammer code to your Arduino board using the Arduino IDE. The TacHammer unit will start cycling through a series of different haptics.

4. Customize the TacHammer sample code to generate your own effects.